5 Drills to Improve
Bike Handling
Bike Handling

Many people think that the pros don't work on their handling skills but this couldn't be further from the truth. Most professionals routinely do handling drills to keep their skills at the highest level. Being comfortable and competent on your bicycle allows you to focus on making gains in training and in competition.
Knowing how to handle your bike in difficult situations gives you the confidence and knowledge to avoid crashing or injury. So frequently athletes will focus on power and speed and spend little time on handling skills and drills. Spending a few minutes each week on drills is well worth the time - you will be more comfortable and confident in your bike.
Below are some examples of drills you can do. Most of the drills can be done during a recovery ride and you don't need to spend hours on them. Just a few minutes each week will improve your bike handling skills. And the next time you are caught in a tight situation, you will have the tools necessary to maneuver the bike safely out of trouble.
It is recommended to do drills in tennis shoes and on grass/dirt (where applicable) or an empty parking lot away from any traffic. Tennis shoes on grass will allow you to quickly put a foot down if necessary or have a soft landing should you need one.
Some of these drills are advanced, be sure to start with the easier ones and work your way up and modify as needed for skill level.

1. Ride The Line: In an empty parking lot or a quiet stretch of road, practice riding directly on the white line on the side of the road. Look ahead, relax, and work on holding the bike in a nice steady, straight line.
2. Figure 8's: Cornering vs. Steering: Cornering-using body weight to control the bike. Put pressure on the inside handlebar, outside leg, and watch the bike carve a corner. Generally used for maintaining higher speeds.
Steering - turning the handlebars to control where the bike goes. Generally slower speeds and technical areas.
Figure 8's on your bike are a great way to demonstrate this drill. Also - setting up a slalom course of bottles/cones can be great too!
3. Starts and Stops: Practice clipping in and rolling out quickly and in a controlled manner. Remember to put your start foot (the one clipped in) at about 2 or 10 o'clock position depending on which foot you start with. This will allow you to get a good "push off" and not have to do the stutter step. Do not look down at your pedals, know where they are and clip in with confidence. Be sure to practice clipping in with both feet, not just one side. For an extra challenge, practice clipping in on a slight uphill.
Practice stopping in a controlled and smooth movement. Choose a stopping point and brake, unclip and put a foot down in one smooth movement. Practice with both sides.
Remember to think about gearing before stopping so when you take off again, you will be in an easy gear to start.
4. Touch Your Toes: While riding around in a large circle, practice touching one foot or toe at a time. Start with touching your toe when the pedal is up, closest to you and work up touching your toe when your foot is at the bottom of the pedal stroke. Do not take your eyes off the road in front of you and get comfortable moving your body weight around on the bicycle to maintain a straight line. Be sure to work on both sides.
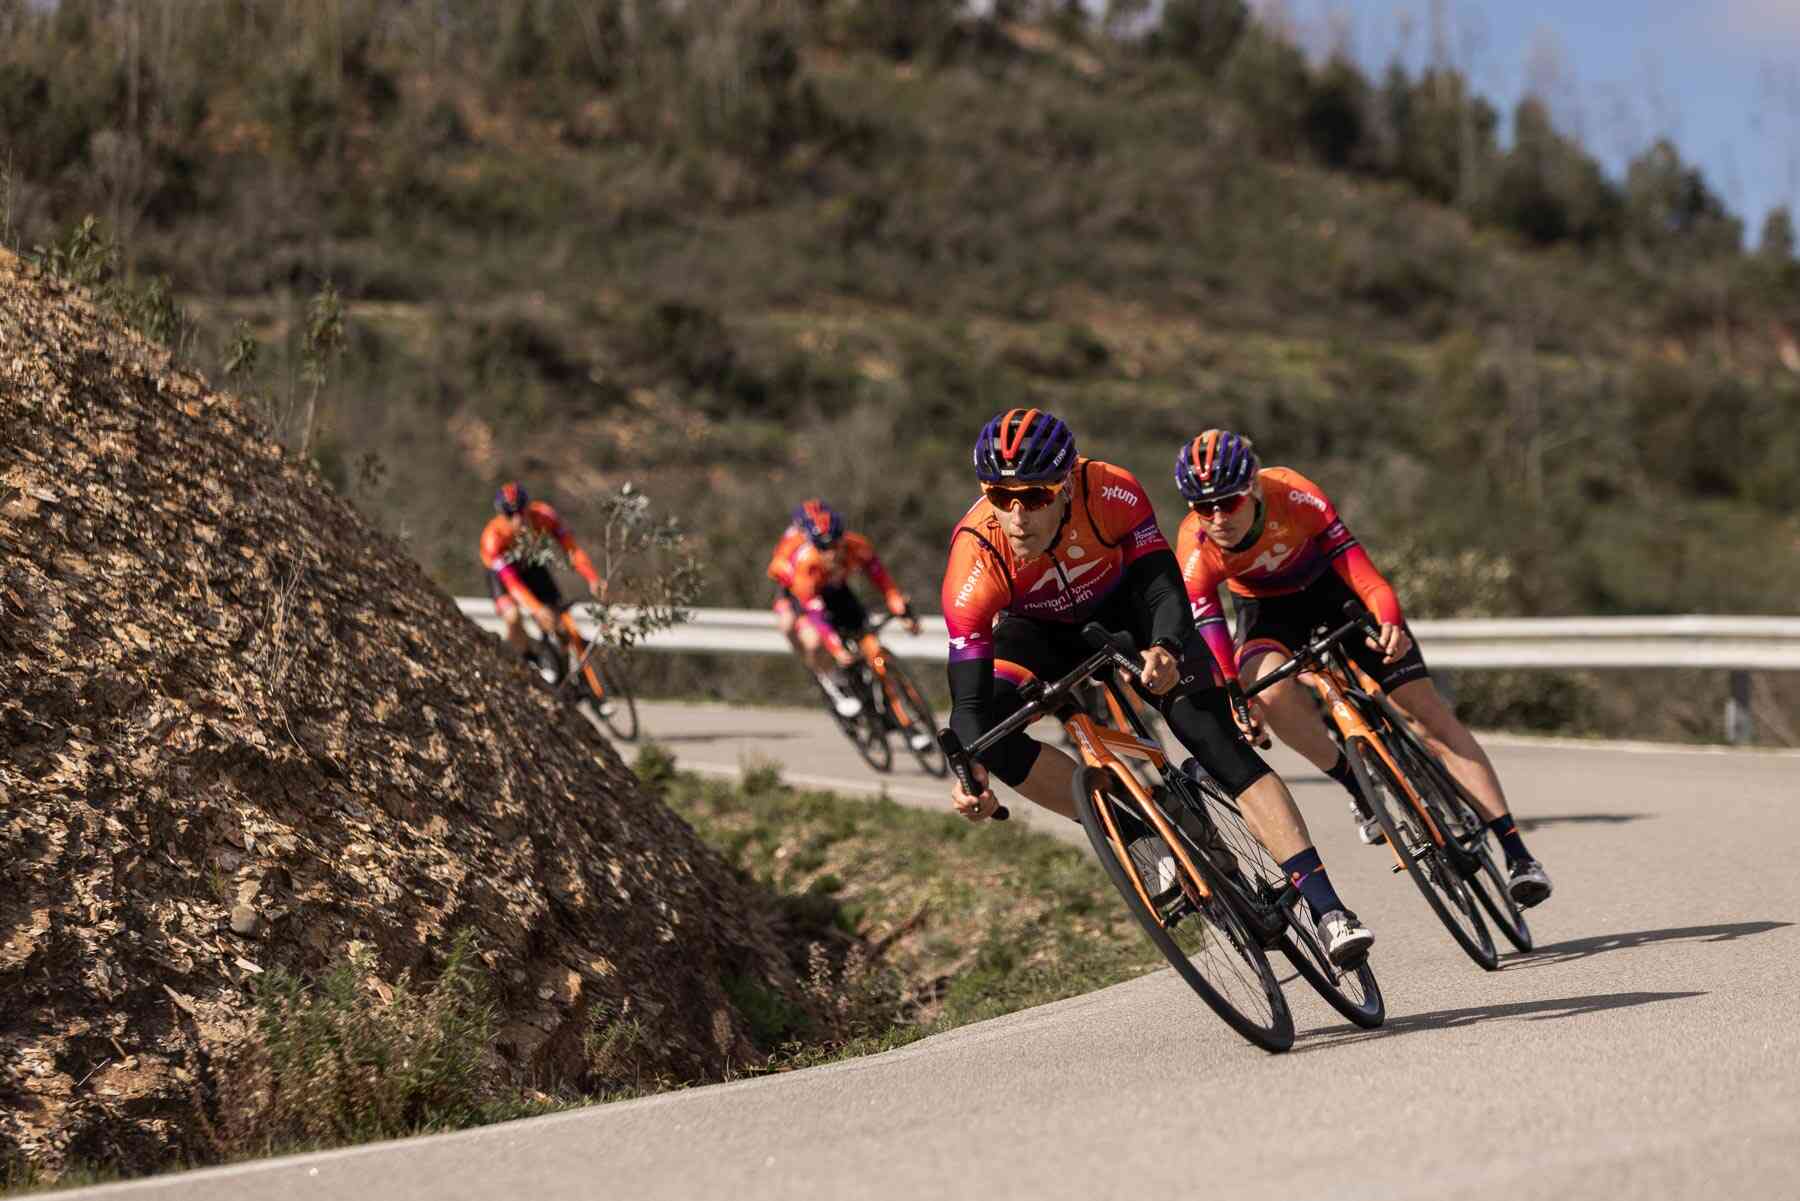
5. Group Riding: Get a few friends or family members together and practice riding in a group. Ride single file and get as close as possible to the wheel in front of you without overlapping. Push yourself out of your comfort zone and into the draft! Feel the sweet spot and how the draft makes it easier to go just as fast. Practice taking pulls (remember to look first, flip your elbow, and say "off"), taking a drink, and all of the general guidelines in the attached group ride document.


